My plan for this '05/'06 winter project is to:
Other non-240 items to do during the winter project:
11/22/2005
Put the bike up on the jack and strapped it down. Marked off the areas on the inside of the swingarm where I'll need to remove material to fit the wider wheel and tire. Then I removed the rear brake caliper, brake caliper bracket, and rear wheel and tire.
11/23/2005
Disassembled the throttle-side switch housing to remove the ignition kill switch to paint it flat black. While the switch housing was disassembled I also decided to re-paint throttle cable elbows black (the elbows were scratched and the factory color is that dark army green). I was also able to cut out the indentation in the rear brake caliper bracket.

11/25/2005
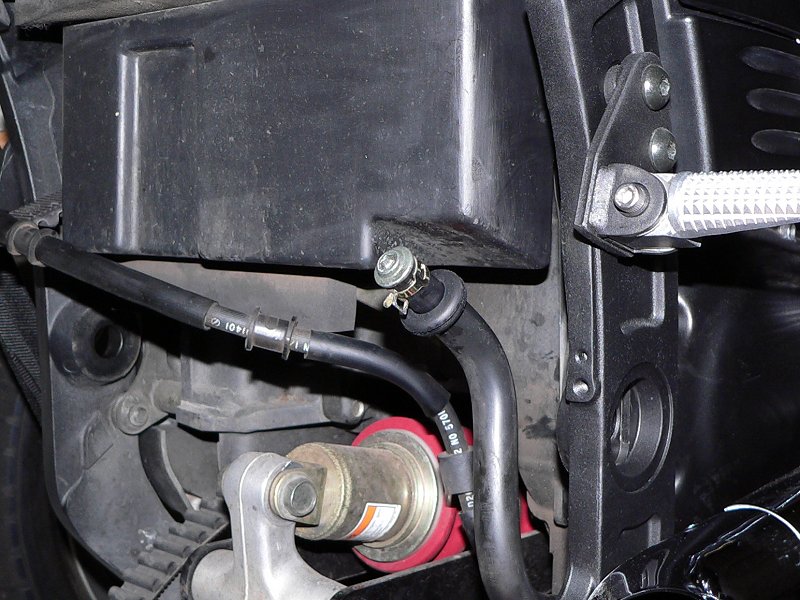
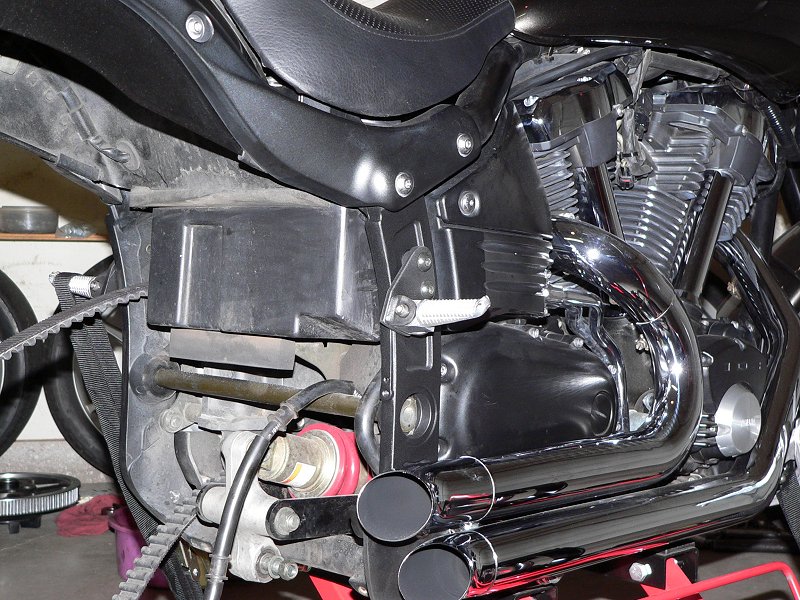
Cut the belt guard mounting tabs off the swing arm and smoothed down those areas. I also removed the rear brake fluid reservoir by just plugging the line with a banjo bolt. I used a large rubber grommet to keep the line tucked behind the frame.
11/26/2005
I took the rear wheel and tire to get the tire dismounted and all the wheel bearings removed so that I could send the wheel off to Kosman Specialties for the conversion. I also took advantage of the 70 degree temps today and painted the rear caliper and newly modifed bracket.

12/2/2005
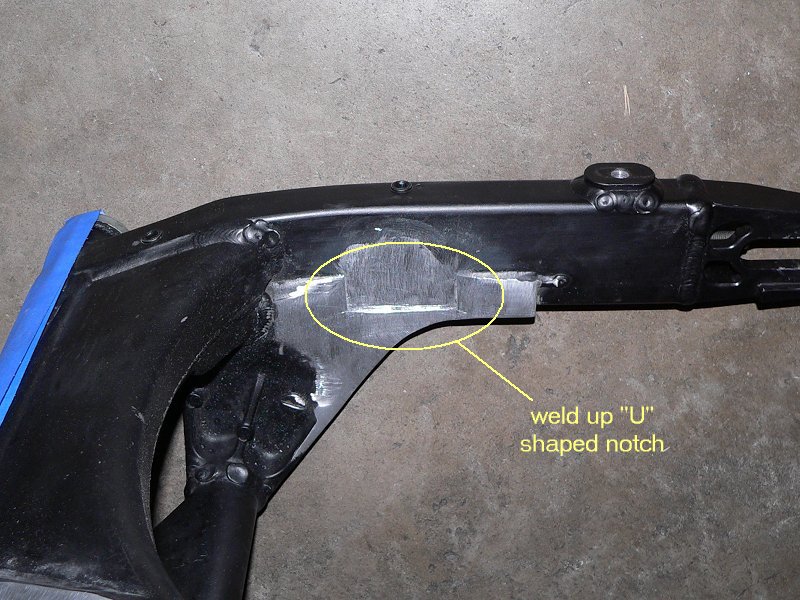
Removed the swingarm from the bike and started on the material removal for about 3 hours today. I got almost all of the material removal done, but I still have a little more work to do for final fitment. I'll need the converted wheel with the 240 tire mounted up for test fitting to finish everything.
12/3/2005
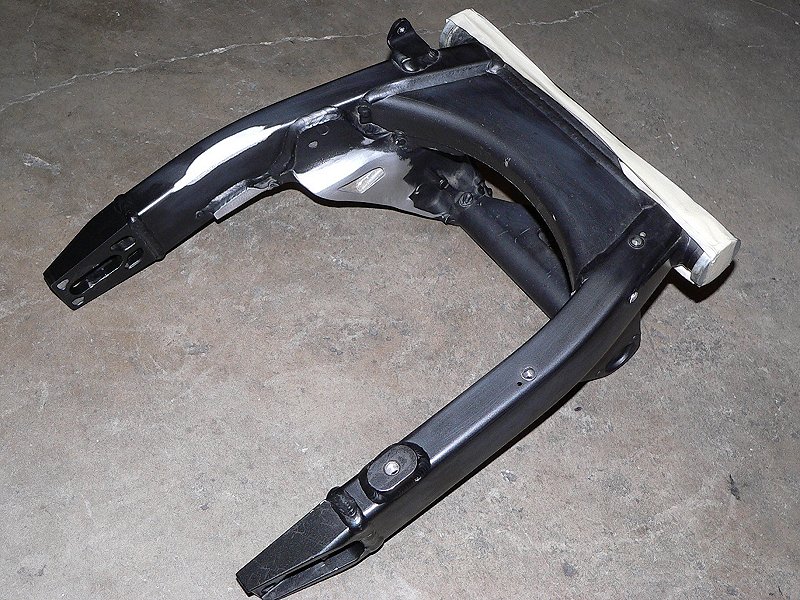
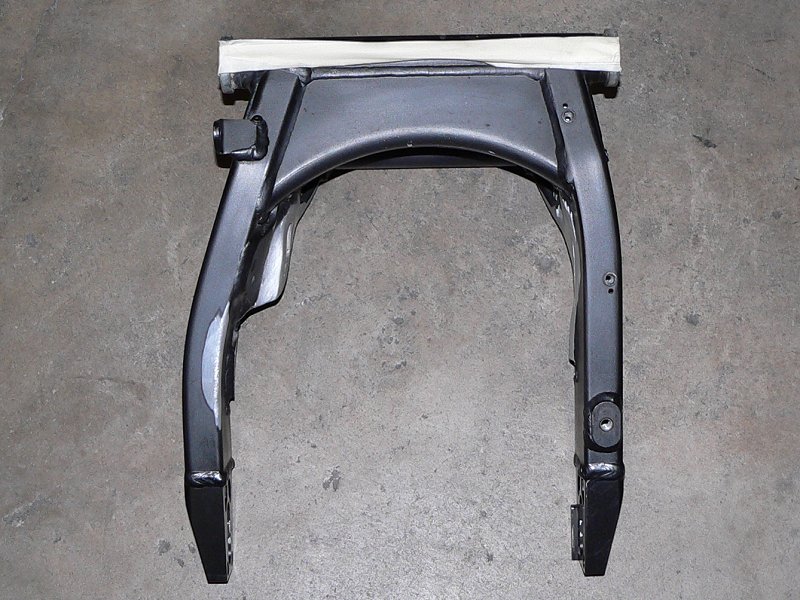
Worked on the swingarm for about 1 more hour today. All I did was smooth out what I had done yesterday, and cleaned up the swingarm for some photos.
12/15/2005
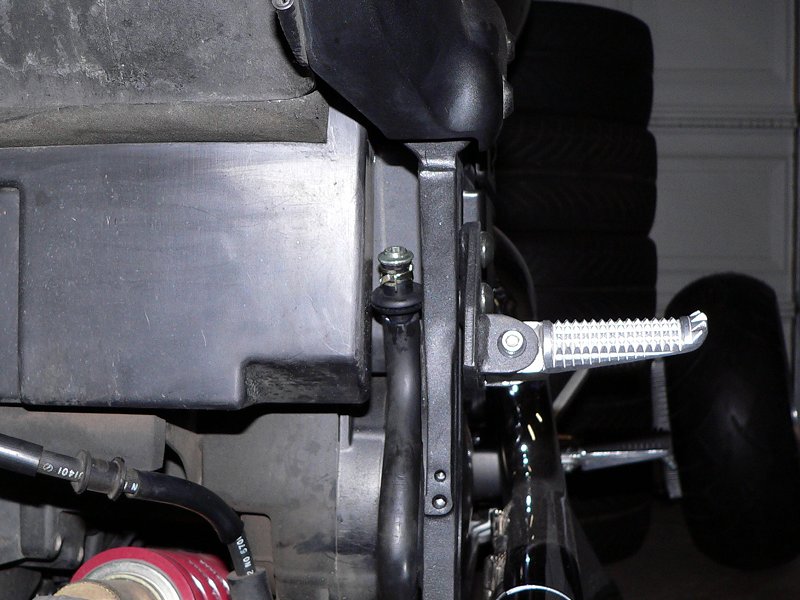
Cut the exhaust mounting tabs off the frame today and smoothed and sanded that area down so that it's ready for paint. I'll mask off and paint that area of the frame when there's a decently warm day.
12/17/2005
Ordered a new Metzeler ME880 XXL 240/40R18 tire from AMT today as well as new bearings and seals for the rear wheel from Yamaha of Hamilton, so that I'll have everything ready to go when I get the wheel back from Kosman Specialties.
12/23/2005
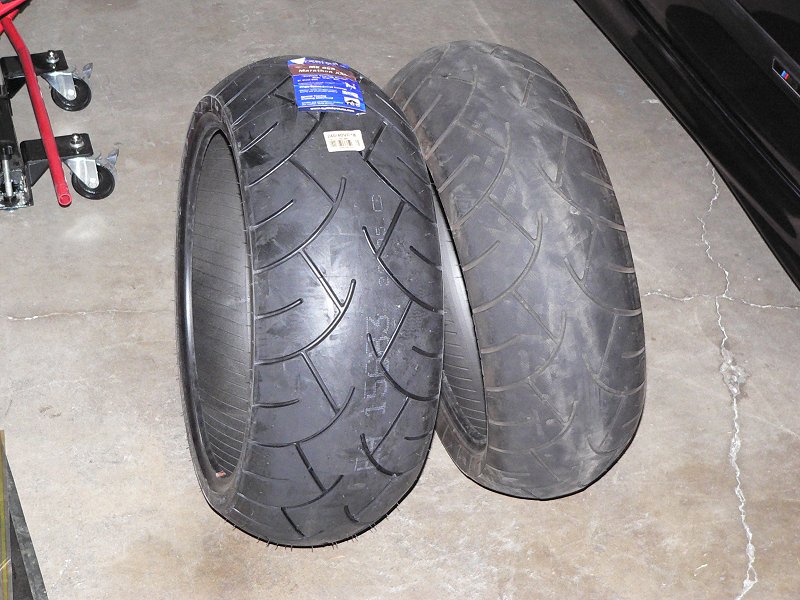
The 240 tire arrived today. Sitting side by side with the 210 that it's replacing, it doesn't appear to be that much larger, but the factory 17"x6" wheel pinches the sidewalls in so much that it makes the 210 look smaller and the center of the tread wears out really quick. I found a different place to mount my state inspection sticker plate, so I also cut off the belt guard mounting tab towards the front of the swingarm.
12/25/2005
Merry Christmas! The temps today were high 60's, so I decided to paint the part of the frame where I had cut off the factory exhaust mounting tabs. I used "GolfHawk's" paint technique by using a flat black base, then metallic black, then one last light dusting of flat black again to match the factory frame and engine paint almost perfectly.
12/30/2005
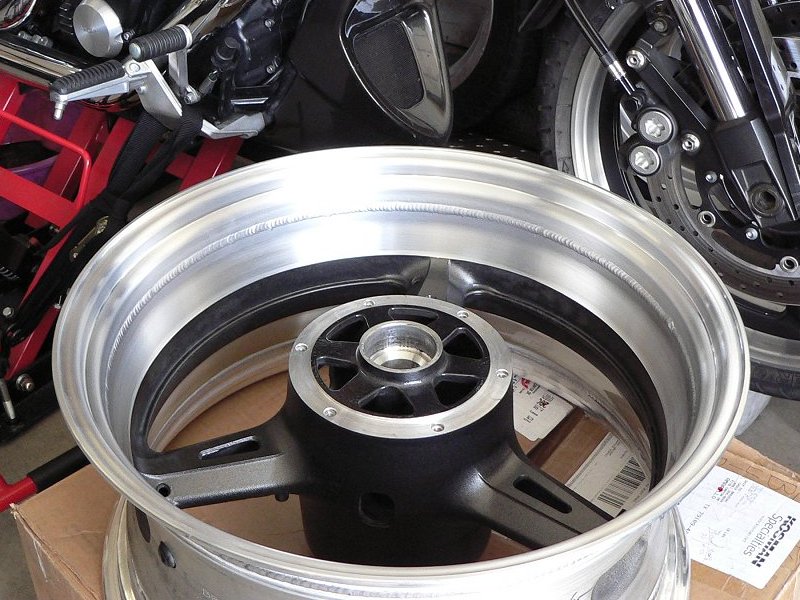
The modified wheel arrived today. The new lips come in a lightly machined and polished appearance finish which doesn't really match the factory machined and clearcoat finish. Also, when they weld the new lips onto the wheel, it "yellows" or "browns" the clear coat that is left on the original lip slightly (from the heat during welding). So I just "brushed" or scrubbed the whole lip (new and original w/clearcoat) with scotchbrite and soapy water and then used some polishing compound on the clearcoated portion and the wheel now has the appearance of the factory finish. You can obviously still see the weld beads, but I actually think it looks kinda cool!
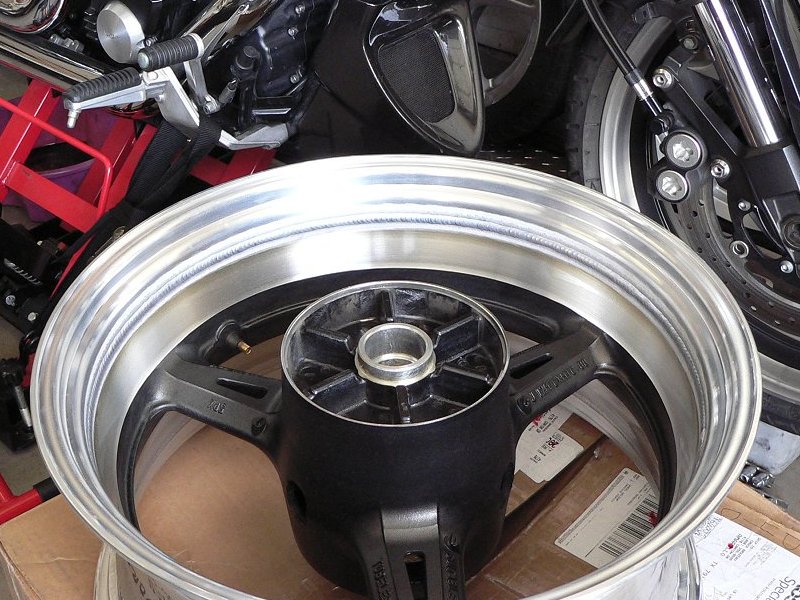 <-- Raw Finish vs. Brushed Finish -->
12/31/2005
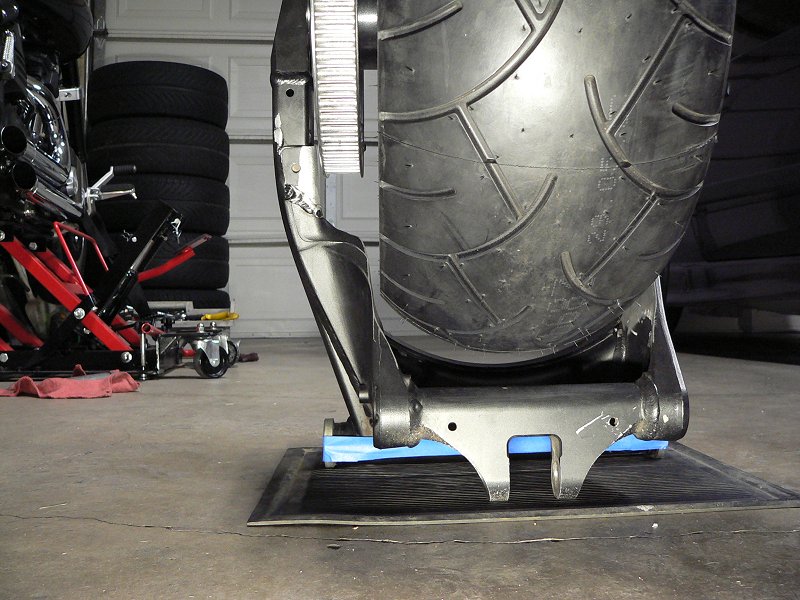
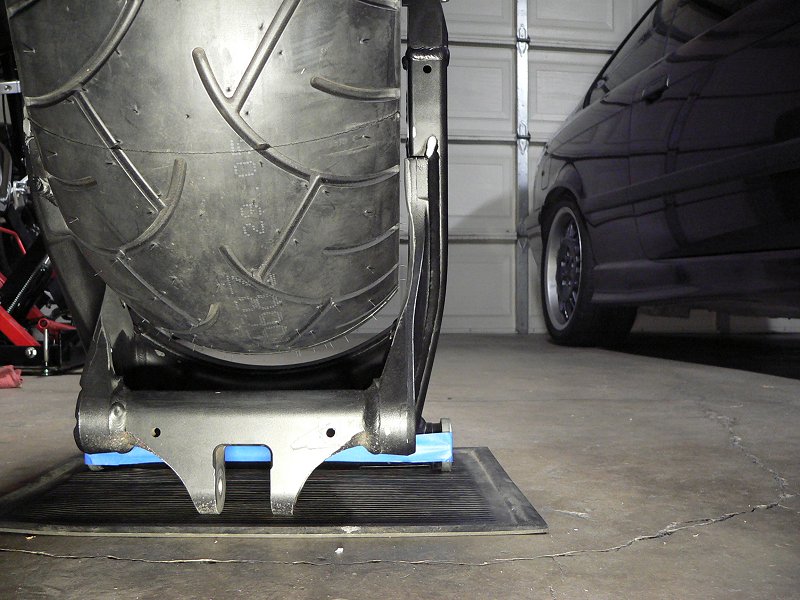
Got the tire mounted onto the wheel today. I also mocked it up in the swingarm, and realized that I won't have to clearance anything else on the swingarm. I've got 7mm of clearance on each side, so I will just do some final prep work and take it to my welder to have a small bit of welding done.
01/01/2006
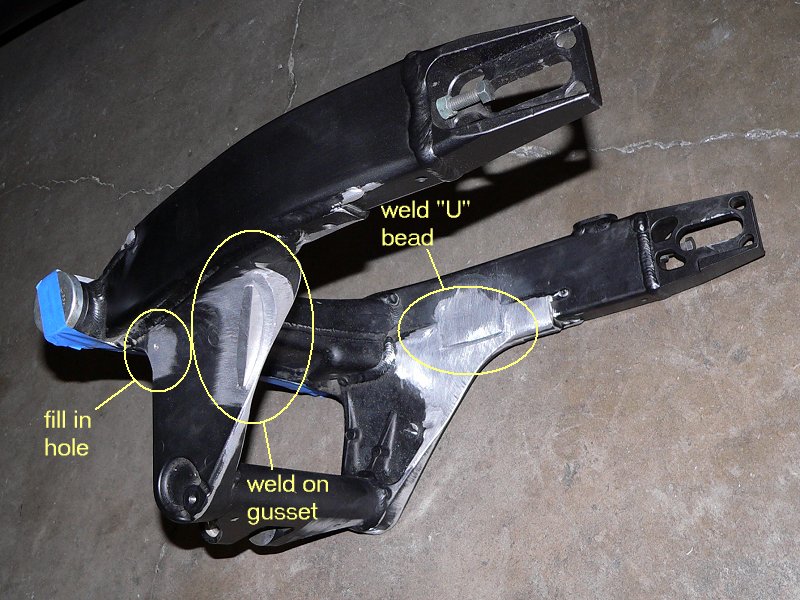
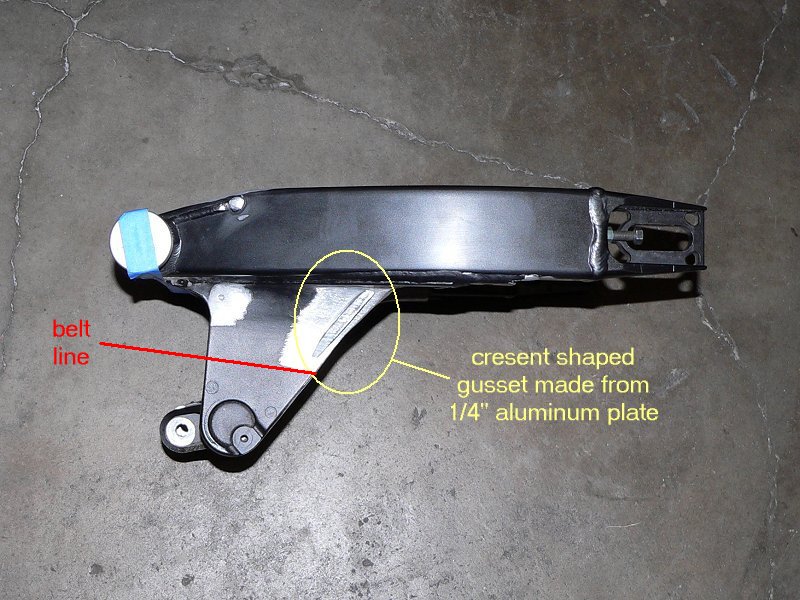
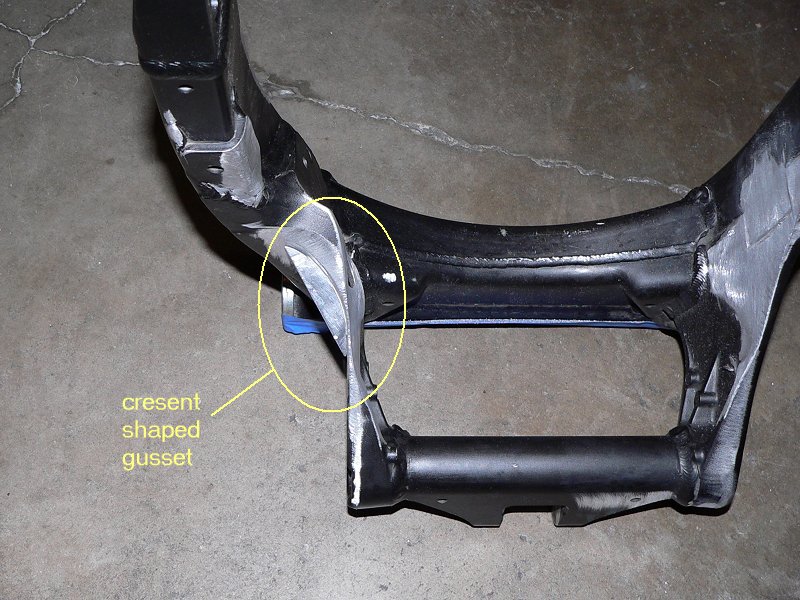
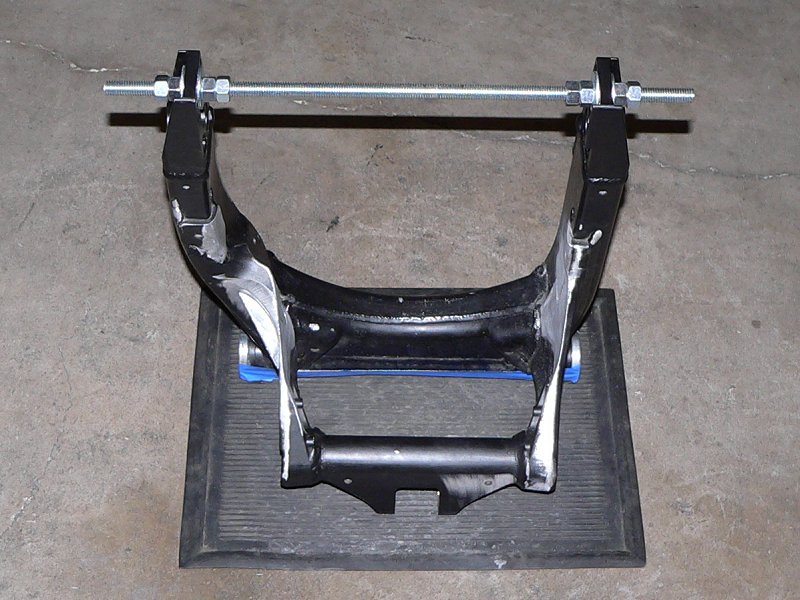
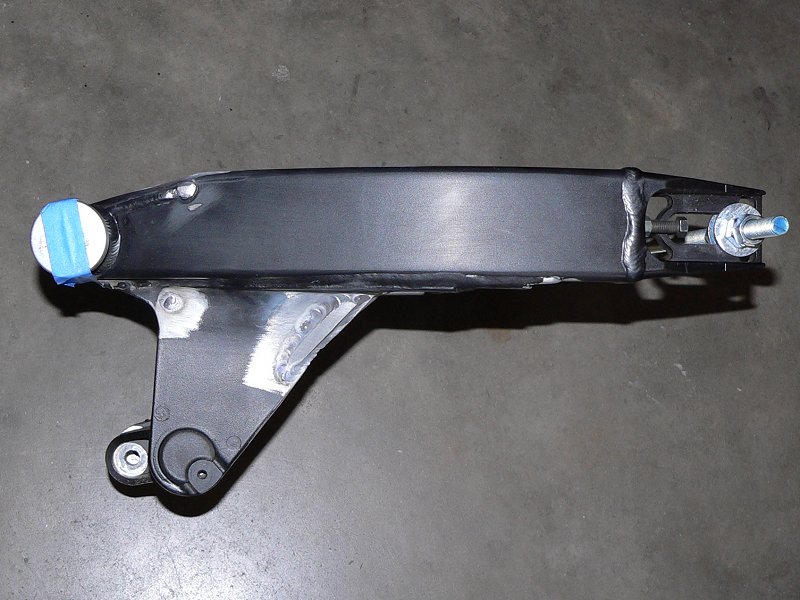
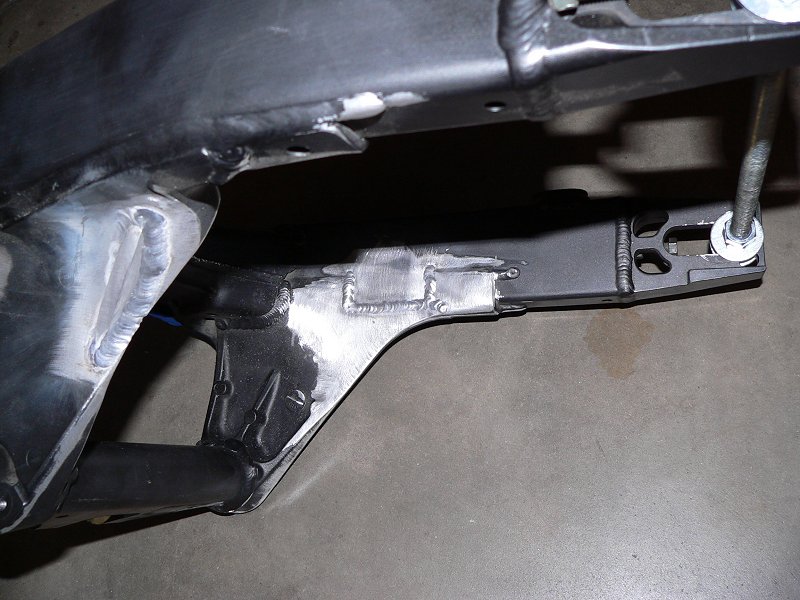
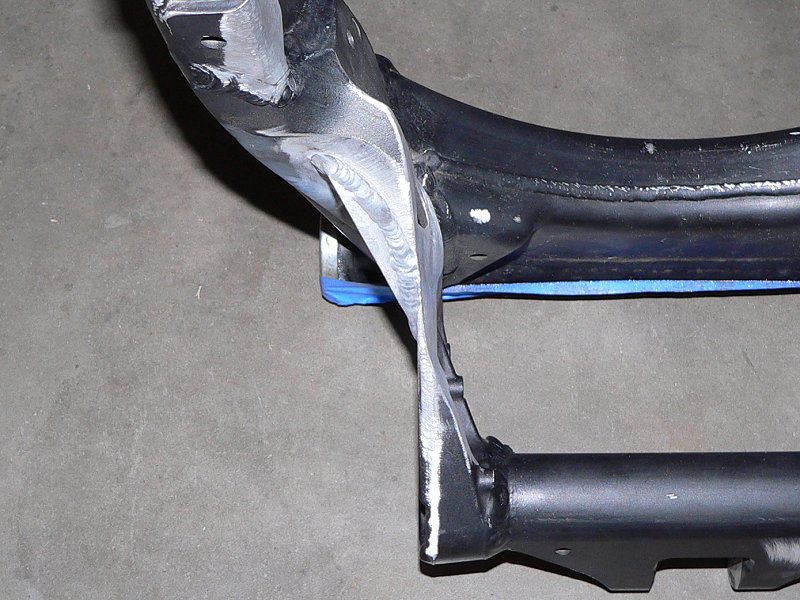
Happy New Year! I finished the final prep work on the swingarm before I take it to the welder this week. I made a cresent moon shaped gusset from 1/4" aluminum plate for the left side that will be welded into place for reinforcement. I used 1/2" threaded rod with nuts and washers to keep the swingarm square during welding.
01/05/2006
The bearings and seals for the rear wheel arrived and are now installed and the rear brake system is bled. All that's left is to get the swingarm back from the welder, prep and paint it, and install it and the rear wheel and tire.
01/06/2006
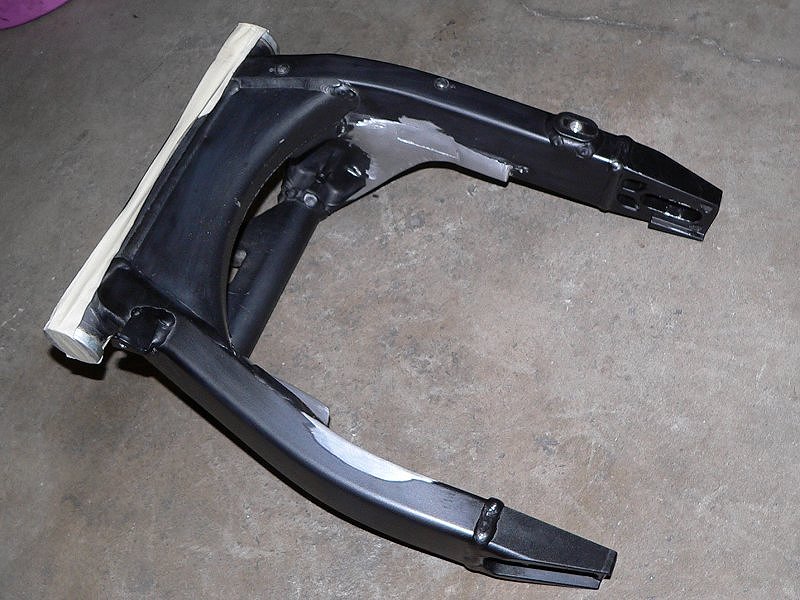
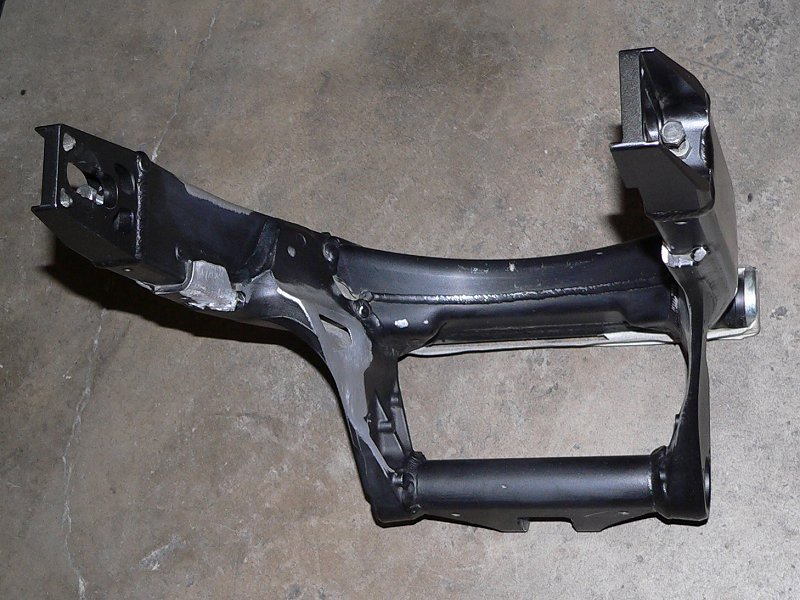
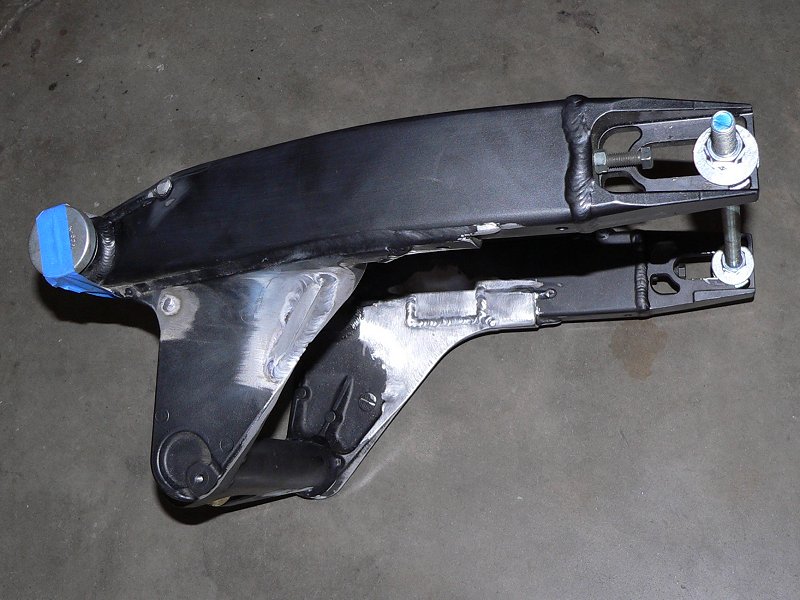
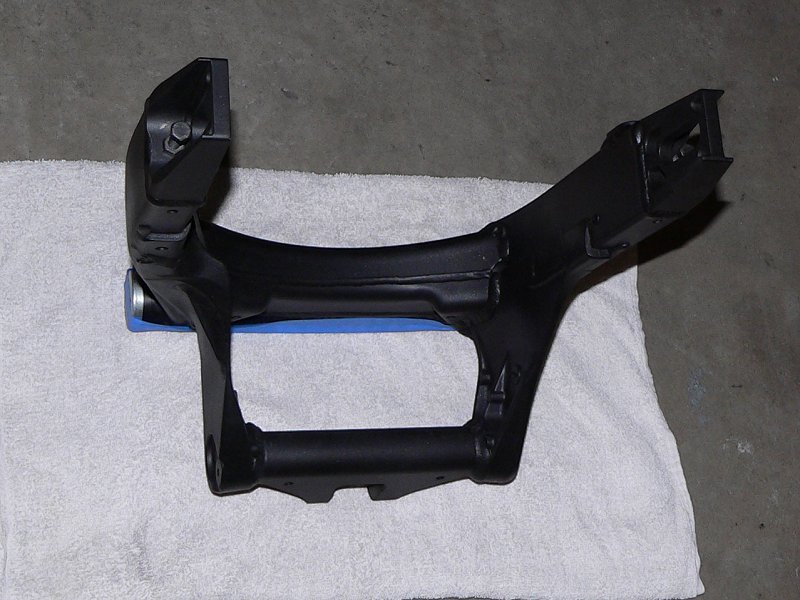
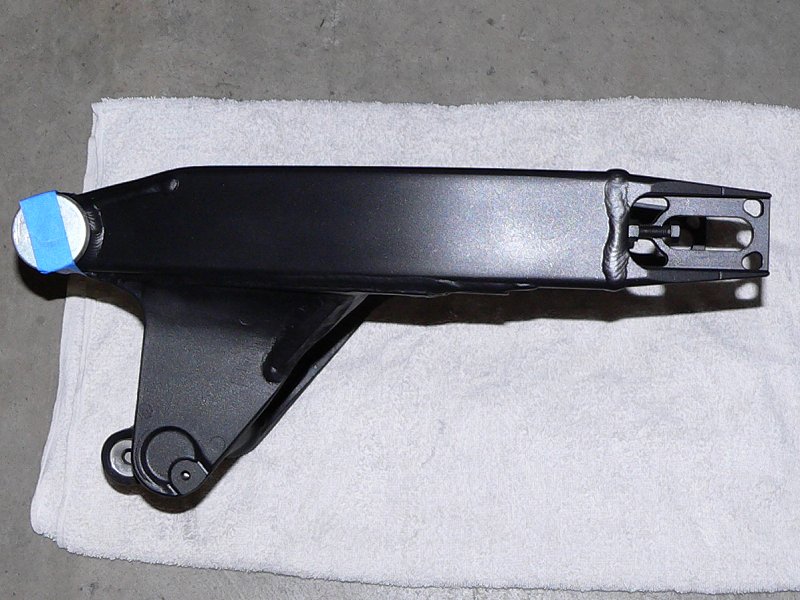
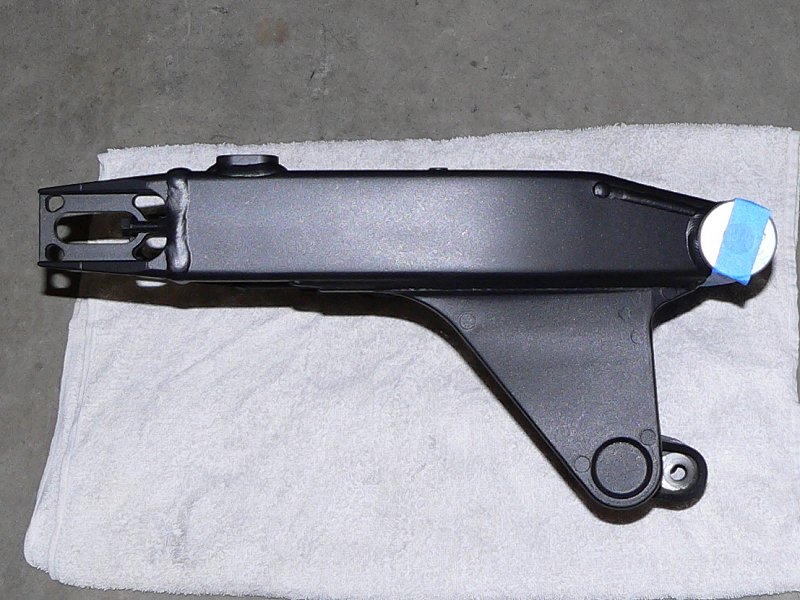
Picked up the swingarm from the welder today. It looks great! Here are some pics of it before prep and paint.
01/07/2006
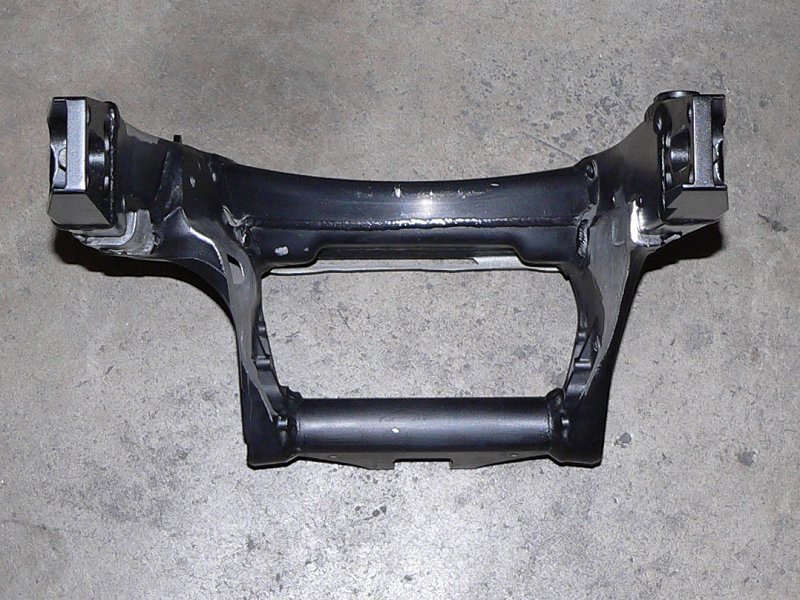
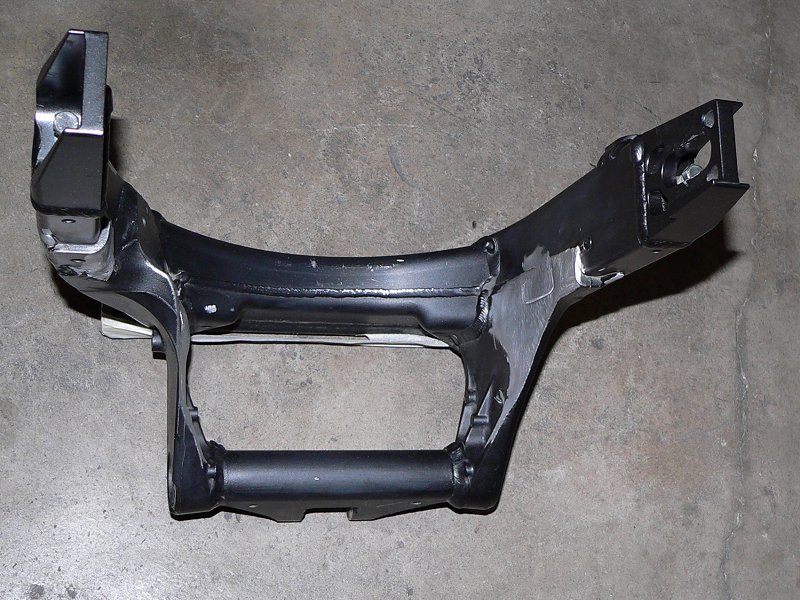
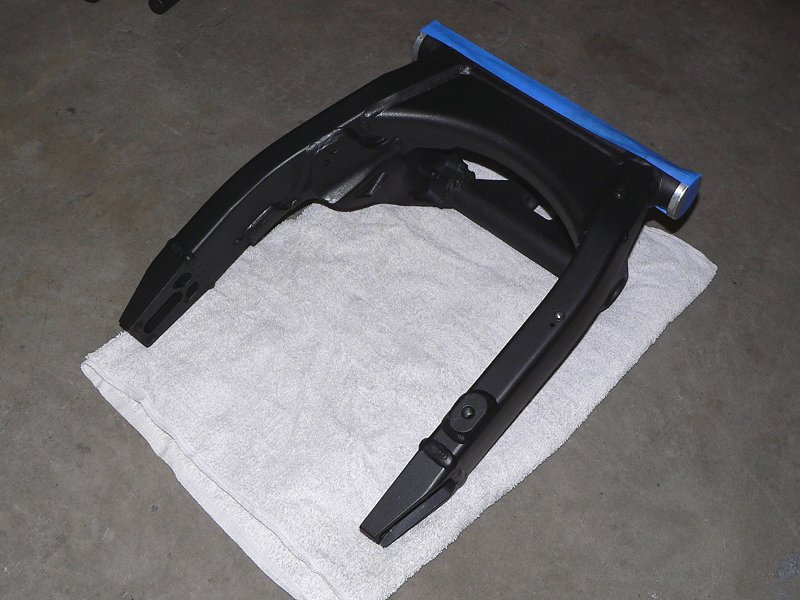
I painted the swingarm using "GolfHawk's" technique again to get a nearly perfect match of the factory flat metallic black paint on the frame. Here are the pics of the finished swingarm before installation.
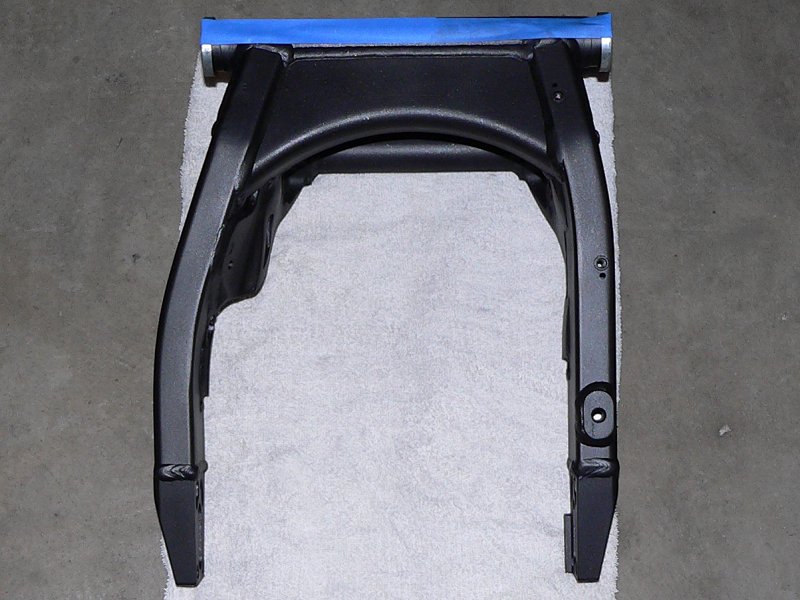
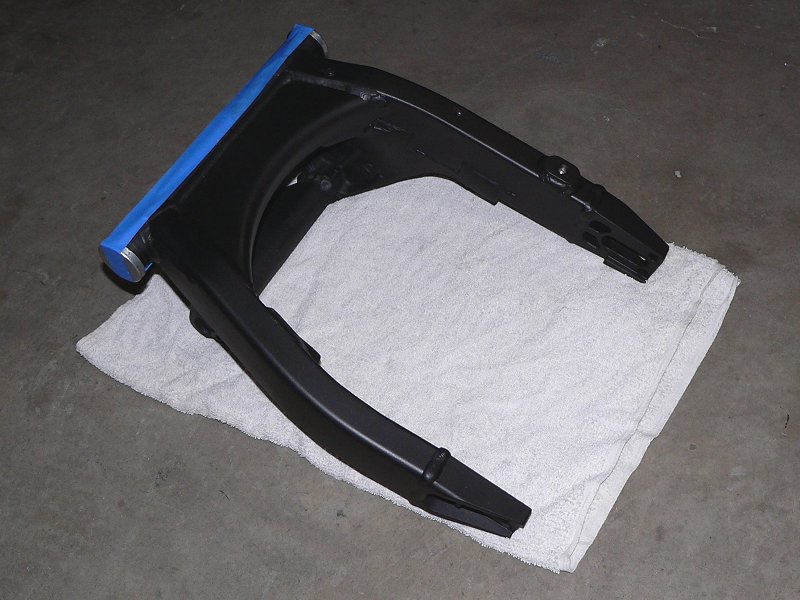
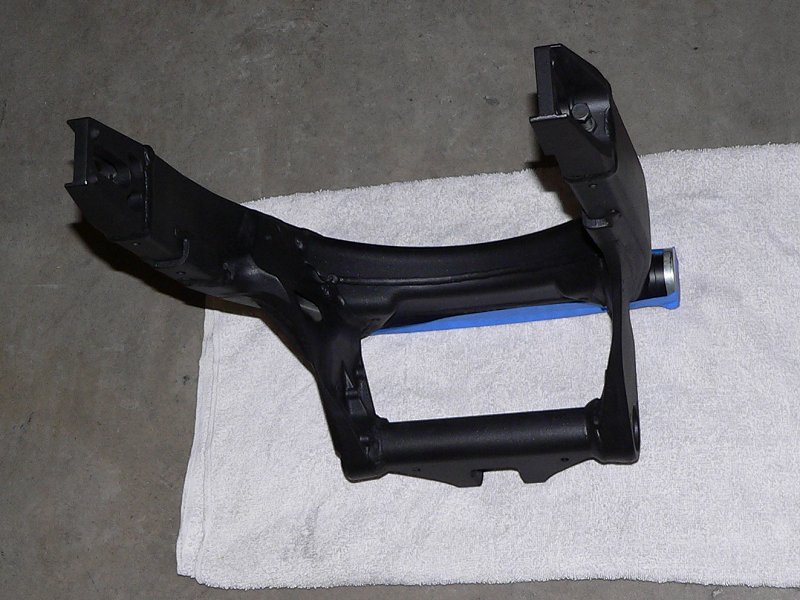
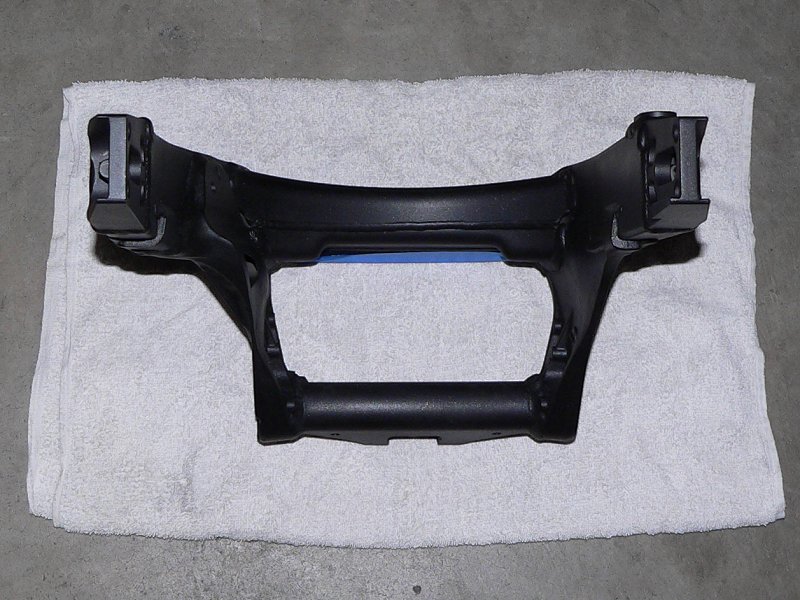
01/08/2006
The final install went together without any problems whatsoever. Check the current photos to see pics of the modified swingarm installed.
Brazeau Racing - Road Star Warrior